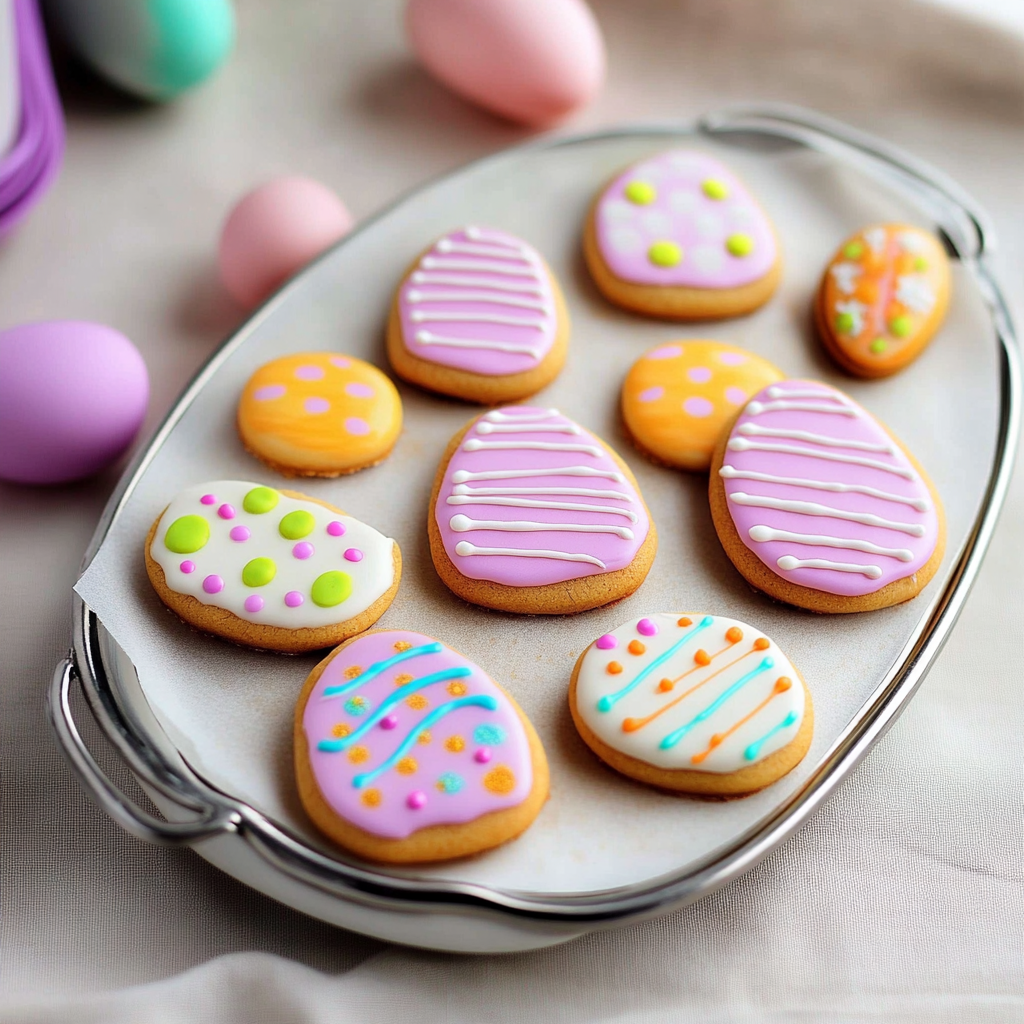
You know that moment when you walk into a room filled with the sweet scent of freshly baked cookies? You can practically hear the sugar crystals singing! Now imagine that multiplied by the joy of Easter, where every cookie is a colorful work of art. That’s right; we’re diving into a delightful world of easter cookies decorated to perfection! These cookies are not just treats; they are edible canvases waiting for your creative touch.
Picture it—a sunny spring day, the air buzzing with excitement as kids (and adults) gather around the kitchen table like it’s an art studio. You’ll find laughter echoing as everyone picks their favorite colors, creating fantastically adorned cookies that look almost too good to eat—almost! Whether it’s for an egg hunt or just a sweet treat to share with loved ones, these cookies will leave everyone coming back for more.
Why You'll Love This Recipe
- These easter cookies decorated are incredibly easy to make and require minimal ingredients
- The vibrant colors and fun shapes make them visually appealing and perfect for any gathering
- They offer endless creativity because you can customize decorations based on your preferences
- Plus, they taste deliciously sweet with a hint of vanilla that keeps everyone smiling!
I still remember the first time I made these colorful delights for my family’s Easter brunch. My niece’s eyes lit up brighter than the sun when she saw those beautifully decorated treats!
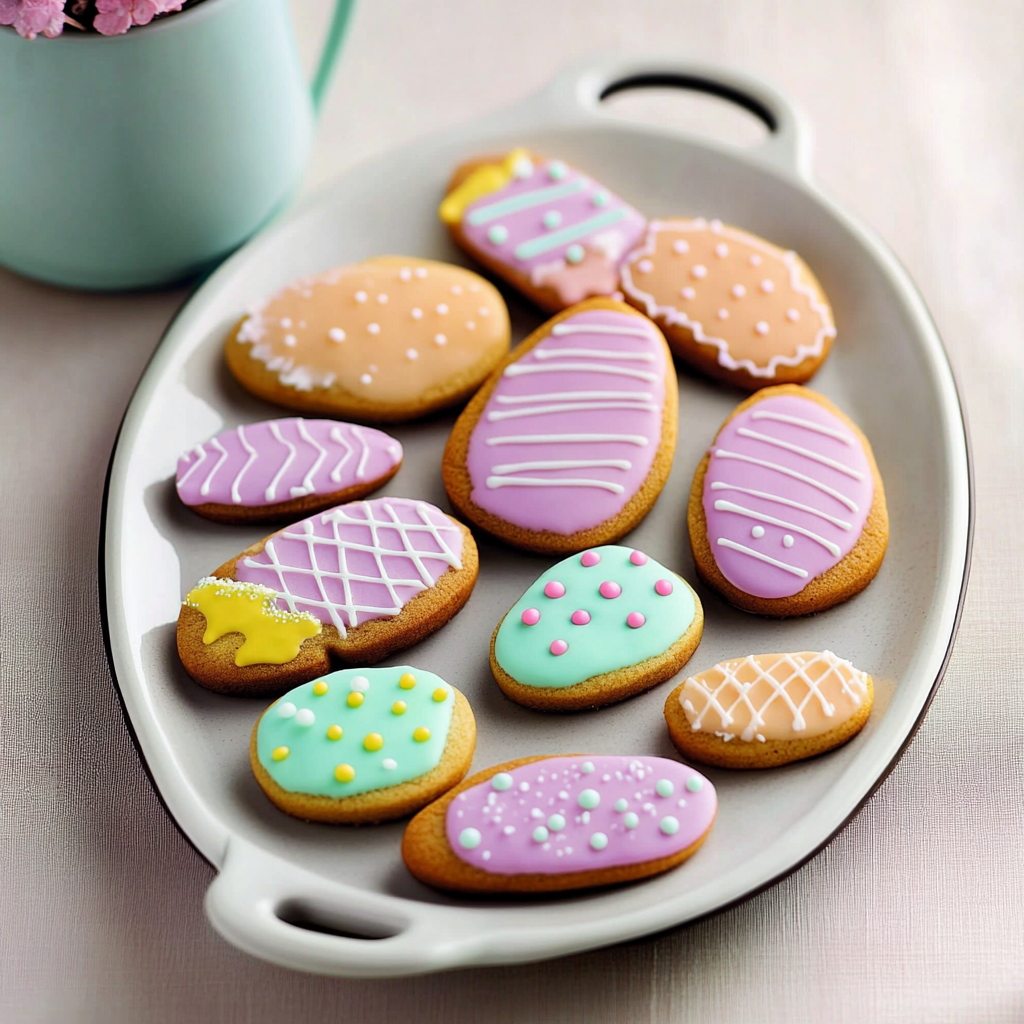
Essential Ingredients
Here’s what you’ll need to make these festive easter cookies decorated:
- All-Purpose Flour: Use about 3 cups of flour; sift it to ensure a light and fluffy texture.
- Sugar: Granulated sugar adds sweetness—about 1 cup will do wonders in this recipe.
- Butter: Use unsalted butter at room temperature; it helps create a rich flavor and soft texture.
- Eggs: Two large eggs add moisture and richness; be sure they’re at room temperature.
- Baking Powder: About 1 teaspoon will help your cookies rise nicely without being cakey.
- Vanilla Extract: One teaspoon adds that lovely aroma and flavor we all adore in our baked goods.
For the Icing:
- Powdered Sugar: About 2 cups gives us a smooth base for decorating our masterpieces.
- Milk or Water: Use 2-4 tablespoons to adjust consistency; aim for a runny yet spreadable texture.
- Food Coloring: Get creative with gel or liquid food coloring to create bright hues for decorating!
The full ingredients list, including measurements, is provided in the recipe card directly below.
Let’s Make it Together
Prepare Your Dough: Begin by preheating your oven to 350°F (175°C). In a bowl, cream together softened butter and sugar until light and fluffy—around five minutes should do it.
Add Eggs and Vanilla: Beat in the eggs one at a time along with vanilla extract; watch how everything combines into a lovely mixture that smells heavenly!
Mix Dry Ingredients: In another bowl, whisk together flour, baking powder, and salt. Gradually incorporate this dry mix into the wet ingredients until everything is combined smoothly.
Chill Your Dough: Wrap your dough in plastic wrap and chill it in the fridge for about 30 minutes. This helps prevent spreading during baking—no one wants puddles instead of cute bunnies!
Roll Out Cookie Shapes: Once chilled, roll out your dough on a floured surface to about ¼ inch thick. Cut out fun shapes using cookie cutters—think bunnies, eggs, and flowers!
Bake Those Cookies: Place cutouts on lined baking sheets and bake them for 8-10 minutes until they’re lightly golden around the edges. They’ll smell divine when done!
Now comes the fun part—decorating! Let those beautiful creations cool completely before you unleash your artistic flair with icing.
Get ready to bring your imagination to life as you mix up icing colors! A simple royal icing is perfect here—mix powdered sugar with milk until you reach that ideal drizzling consistency.
Once prepared:
1. Divide icing into bowls; add food coloring based on your desired palette.
2. Use piping bags (or ziplock bags with corners snipped) to create intricate designs on cooled cookies.
3. Get creative! Add sprinkles or edible glitter for extra pizzazz.
Finally, allow your decorated easter cookies to set completely before serving them up at your next gathering or hiding them during an egg hunt!
Baking these easter cookies decorated not only fills your home with delightful aromas but also creates lasting memories filled with laughter, creativity, and love shared among family and friends. Enjoy every sweet bite!
You Must Know
- Easter cookies decorated are more than just treats; they’re a canvas for creativity
- You can let your imagination run wild with colors and designs
- The delightful aroma while baking fills your home with holiday spirit, making it perfect for gatherings
Perfecting the Cooking Process
Start by preheating your oven to 350°F. Mix dry ingredients first, then cream butter and sugar before gradually adding eggs and vanilla for an even blend.
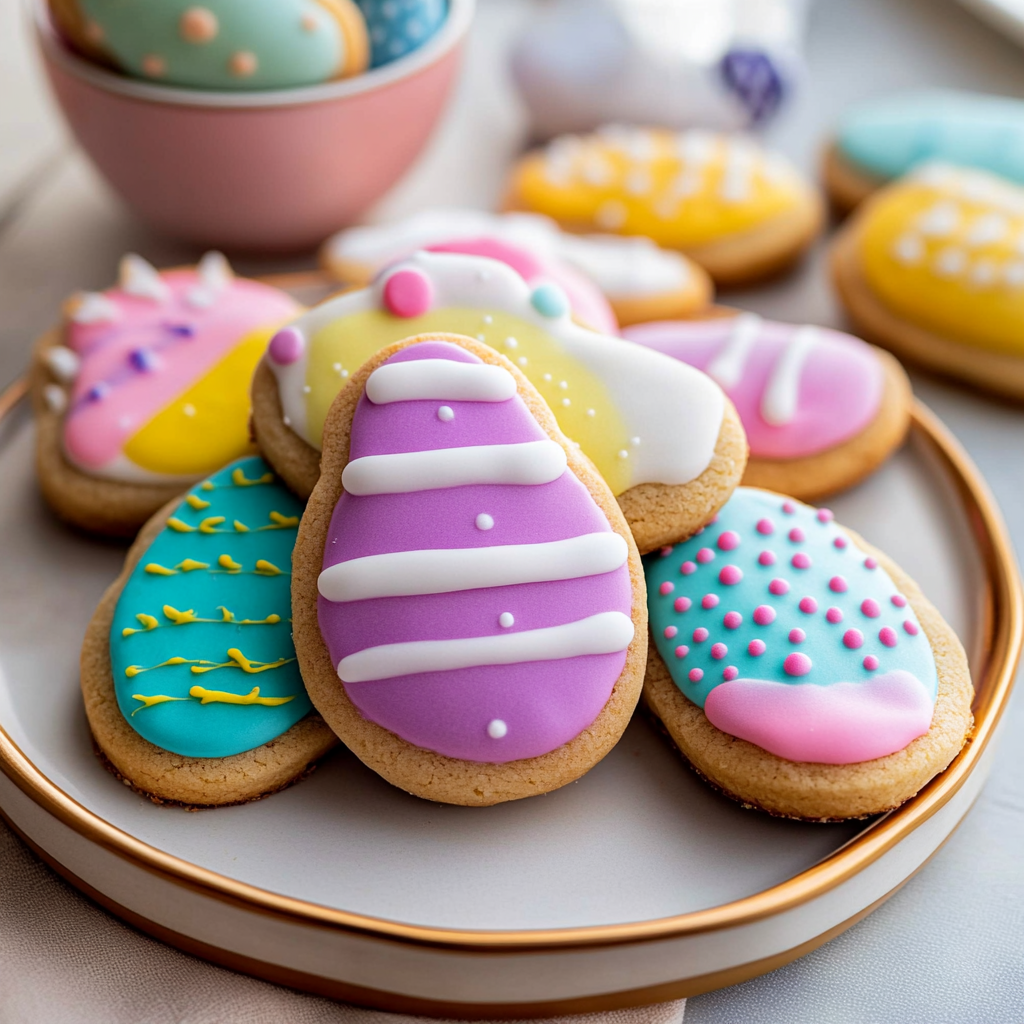
Add Your Touch
Feel free to swap out vanilla for almond extract or add colorful sprinkles to the dough for extra flair. Experiment with different icing flavors too!
Storing & Reheating
Store your decorated cookies in an airtight container at room temperature to keep them fresh. If they soften, pop them in a preheated oven briefly.
Chef's Helpful Tips
- To make the best Easter cookies decorated, ensure your butter is softened but not melted
- Use gel food coloring for vibrant hues that stand out beautifully
- Always cool cookies completely before decorating to avoid messy icing disasters!
Baking these Easter cookies decorated reminds me of my childhood kitchen chaos—flour everywhere and my little cousin trying to “help” by eating more frosting than he was applying!

FAQ
What makes the best frosting for Easter cookies decorated?
Royal icing holds its shape well and dries hard, making it ideal for decoration.
Can I freeze my Easter cookies decorated?
Yes, freezing your cookies is simple; just layer parchment paper between them before sealing.
How long do Easter cookies decorated last?
Stored properly, they can last up to two weeks at room temperature without losing flavor.

Festively Decorated Easter Cookies
- Total Time: 40 minutes
- Yield: Approximately 24 cookies 1x
Description
Easter cookies decorated are a fun and creative way to celebrate the holiday. Bring joy to your gatherings with these vibrant, sweet treats that everyone will love.
Ingredients
- 3 cups all-purpose flour
- 1 cup granulated sugar
- 1 cup unsalted butter (room temperature)
- 2 large eggs (room temperature)
- 1 teaspoon baking powder
- 1 teaspoon vanilla extract
Instructions
- Preheat oven to 350°F (175°C).
- Cream together softened butter and sugar until light and fluffy.
- Beat in eggs one at a time along with vanilla extract.
- In a separate bowl, whisk together flour, baking powder, and salt. Gradually add dry ingredients to the wet mixture until combined.
- Chill the dough in plastic wrap for 30 minutes.
- Roll out dough on a floured surface to about ¼ inch thick; cut into desired shapes.
- Place cookies on lined baking sheets and bake for 8-10 minutes until lightly golden around edges.
- Let cookies cool completely before decorating with icing.
- Prep Time: 30 minutes
- Cook Time: 10 minutes
- Category: Dessert
- Method: Baking
- Cuisine: American
Nutrition
- Serving Size: 1 serving
- Calories: 110
- Sugar: 6g
- Sodium: 45mg
- Fat: 5g
- Saturated Fat: 3g
- Unsaturated Fat: 2g
- Trans Fat: 0g
- Carbohydrates: 15g
- Fiber: <1g
- Protein: 1g
- Cholesterol: 20mg
Keywords: Customize flavors by replacing vanilla extract with almond extract for a unique twist. Use gel food coloring for vibrant hues that enhance the visual appeal of your cookies. Store decorated cookies in an airtight container for freshness or freeze layered between parchment paper.
