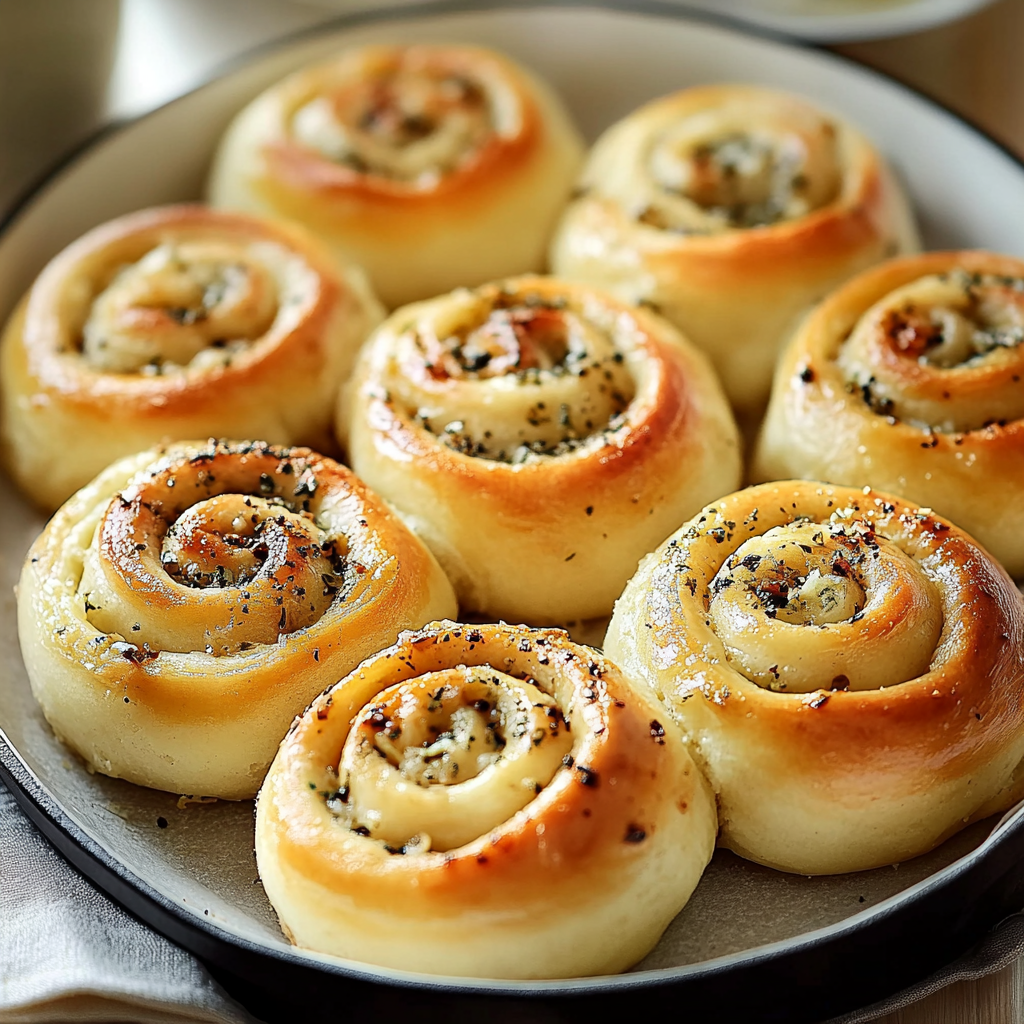
The aroma wafting through your kitchen as these garlic swirl rolls bake is nothing short of heavenly. Imagine pulling them out of the oven—golden brown, with a buttery shine that practically beckons you to take a bite. Each roll has that perfect balance of fluffy and chewy textures, while the rich garlicky flavor dances on your taste buds like it’s been practicing its moves for weeks.
Now picture this scene: it’s a chilly evening, and you’re wrapped in a blanket on your couch. Suddenly, you get a whiff of warm bread baking away in the oven. You can’t resist! These garlic swirl rolls are not just food; they’re an experience that turns ordinary moments into something special. Whether it’s family gatherings or cozy nights in with a good book, these flavorful rolls make every occasion feel like a celebration.
Why You'll Love This Recipe
- These garlic swirl rolls are incredibly easy to prepare and require minimal ingredients
- Their delightful flavor profile blends rich butter and aromatic garlic flawlessly
- Visually appealing with their swirled design, they’ll steal the show at any gathering
- Plus, they’re versatile enough to pair perfectly with soups or salads!
I once made these for a dinner party, and let me tell you—my friends were practically fighting over who would take home the leftovers!
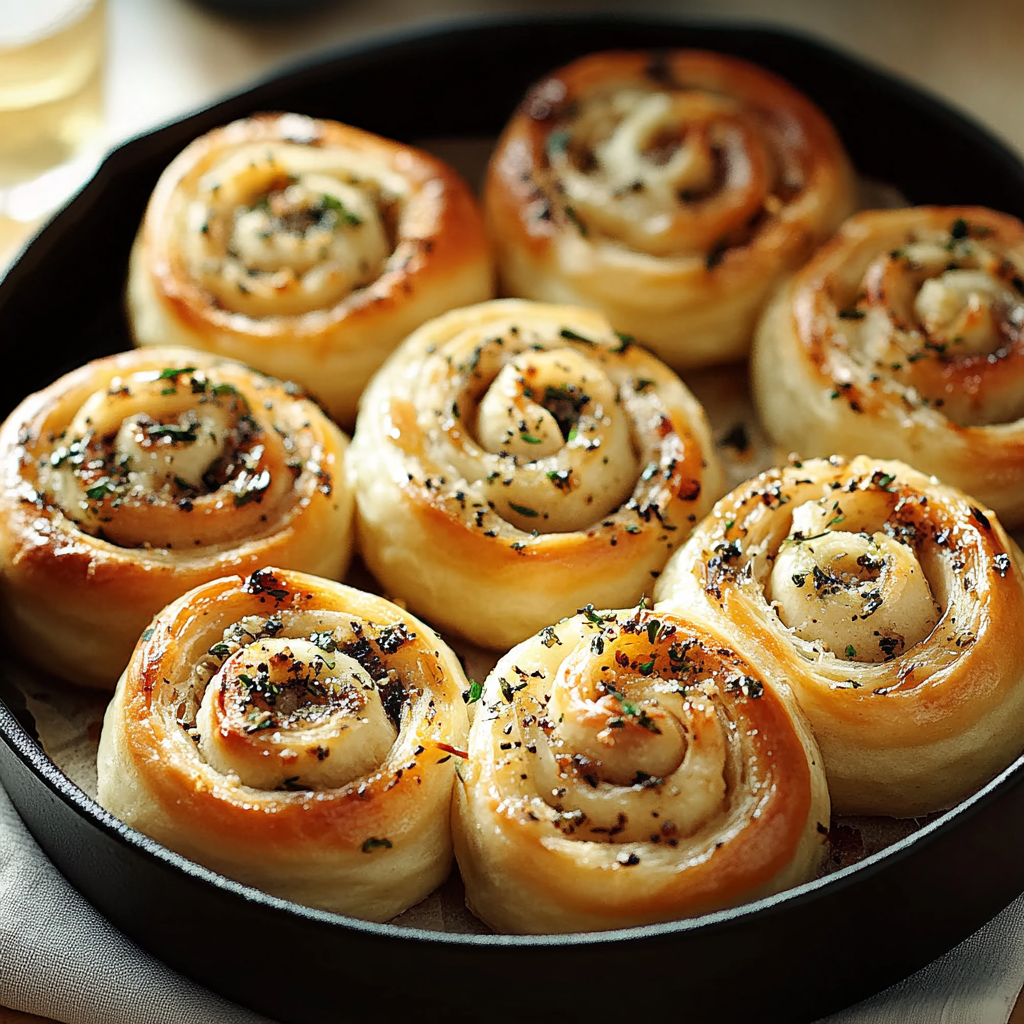
Essential Ingredients
Here’s what you’ll need to make this delicious dish:
- All-Purpose Flour: Use high-quality flour for better structure; it helps create those soft, fluffy rolls.
- Active Dry Yeast: Ensure it’s fresh for optimal rise; nobody likes flat rolls!
- Warm Water: The water should be warm—not too hot or cold—to activate the yeast properly.
- Granulated Sugar: Just a touch sweetens the dough and helps feed the yeast for rising.
- Salt: Essential for enhancing flavor; don’t skimp on this one!
- Butter: Use unsalted butter for that creamy richness; it makes all the difference.
- Fresh Garlic: The star ingredient! Freshly minced gives the best flavor; avoid pre-minced varieties if possible.
- Parsley (optional): Chopped parsley adds color and freshness but is totally optional.
The full ingredients list, including measurements, is provided in the recipe card directly below.
Let’s Make it together
First things first—get ready to embrace your inner baker! Follow these simple steps to create your own batch of mouthwatering garlic swirl rolls.
Activate Your Yeast: In a small bowl, combine warm water (around 110°F) with sugar and yeast. Let it sit until frothy—about 5 minutes will do.
Mix Your Dough: In a large mixing bowl, combine flour and salt. Pour in the yeast mixture along with melted butter. Mix until combined.
Knead Like You Mean It: On a floured surface, knead the dough for about 8-10 minutes until it’s smooth and elastic. Trust me—it’s worth it!
Let It Rise!: Place your dough in an oiled bowl covered with a towel. Allow it to rise in a warm place until doubled in size—this usually takes about 1 hour.
Create Your Filling: While waiting for the dough to rise, mix softened butter with minced garlic and parsley in a small bowl. This filling packs all that garlicky goodness!
Shape Your Rolls: Roll out your dough into a rectangle about ¼ inch thick. Spread your garlicky filling evenly across it before rolling it up tightly from one end.
Slice & Arrange: Cut the rolled dough into equal pieces (about 12). Place them cut-side up in a greased baking dish. Let them rise again for about 30 minutes.
Bake Away!: Preheat your oven to 375°F (190°C). Bake the rolls until golden brown—around 20-25 minutes should do it!
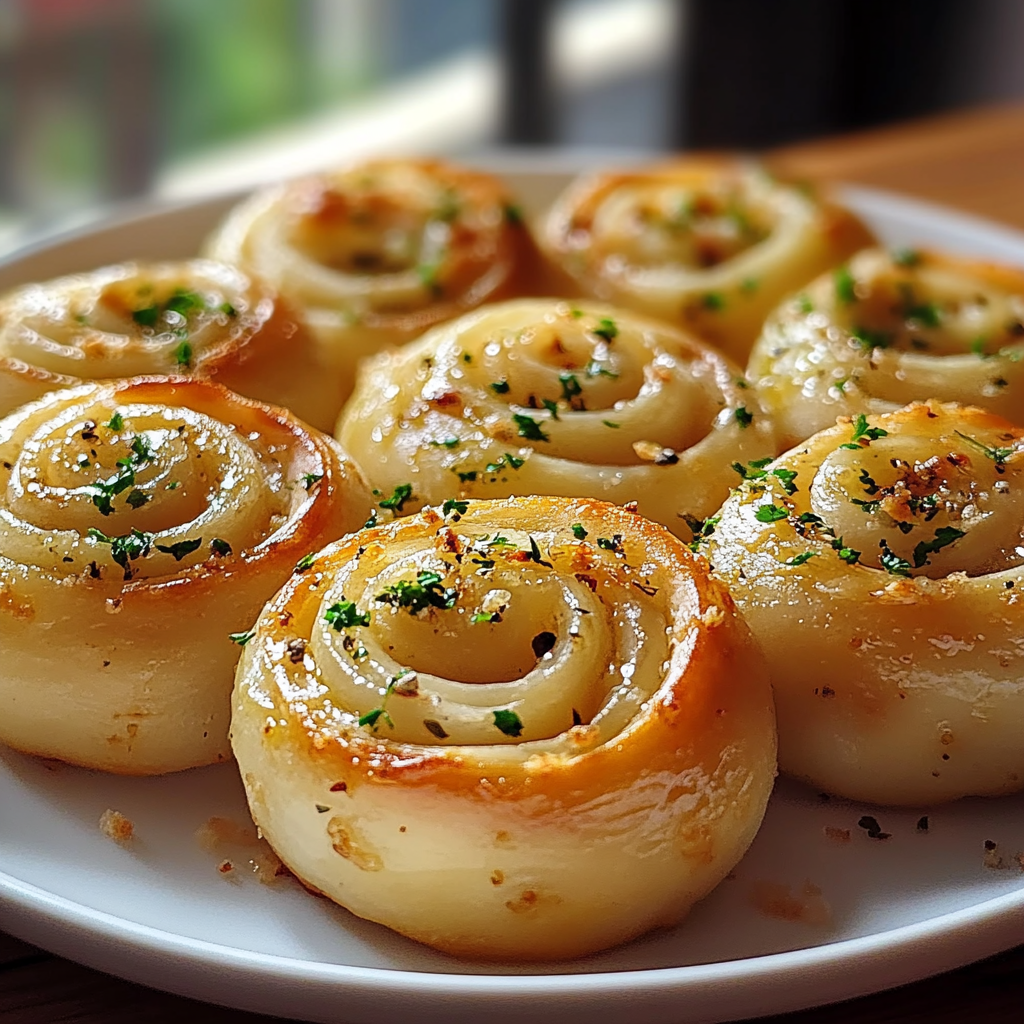
Those beautiful golden swirls will be calling out to you as they cool down on a rack!
Serve warm with additional melted butter brushed on top if you’re feeling extra indulgent—because why not?
Now go ahead and enjoy those irresistible garlic swirl rolls! Whether shared at gatherings or savored alone on a cozy night in front of Netflix—they’re bound to become an instant favorite!
You Must Know
- Garlic swirl rolls are not just tasty; they fill your kitchen with an irresistible aroma
- Mastering the dough can transform your baking game, making every bite a moment of pure bliss
- Enjoy them fresh, or save some for later—if you manage to resist!
Perfecting the Cooking Process
Start by preparing the dough and letting it rise while you mix the garlic filling. Roll it out, spread, and cut. Then, let those beauties rise again before baking for maximum fluffiness.
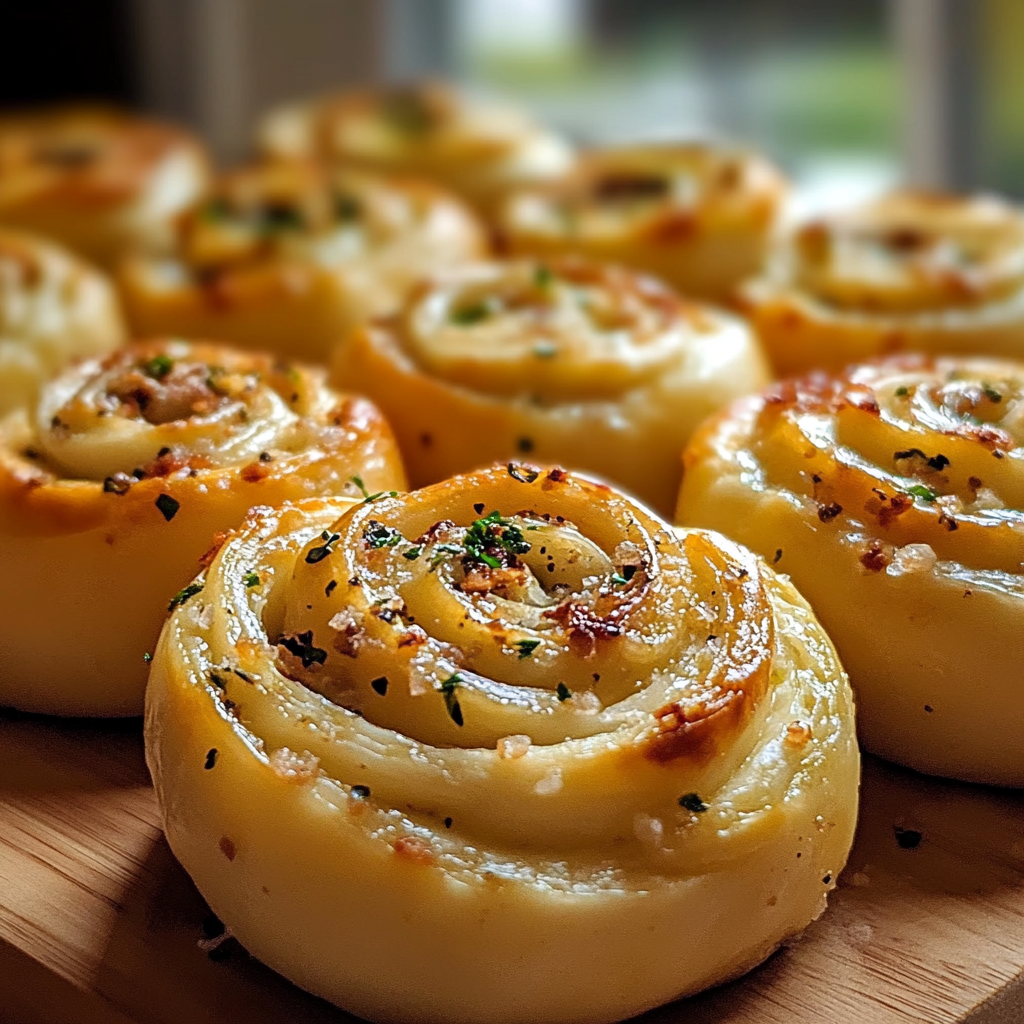
Add Your Touch
Feel free to swap butter for olive oil or add herbs like rosemary or thyme to the filling. Experimenting with cheese blends can also add a delightful twist!
Storing & Reheating
Store leftover garlic swirl rolls in an airtight container at room temperature for up to three days. Reheat in the oven for a few minutes until warm and crispy.
Chef's Helpful Tips
- When rolling out your dough, aim for an even thickness for uniform baking
- Don’t skip letting the rolls rise twice; this ensures a light, fluffy texture
- Using fresh garlic will give you that punchy flavor everyone loves!
Baking these garlic swirl rolls brings back memories of family gatherings where we fought over the last piece. The laughter and joy always made them taste even better!
FAQ
Can I make garlic swirl rolls ahead of time?
Yes, you can prepare the dough and filling a day prior and refrigerate before baking.
What type of flour is best for garlic swirl rolls?
All-purpose flour works beautifully for a soft and tender roll texture.
How do I know when my rolls are fully baked?
The tops should be golden brown, and tapping them lightly should sound hollow.
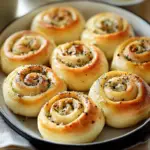
Irresistible Garlic Swirl Rolls
- Total Time: 40 minutes
- Yield: Serves 12 rolls
Description
Garlic swirl rolls are a delectable treat, combining rich garlic flavor with a soft, fluffy texture. Perfect for sharing, these rolls turn any meal into a celebration.
Ingredients
- All-Purpose Flour
- Active Dry Yeast
- Warm Water
- Granulated Sugar
- Salt
- Unsalted Butter
- Fresh Garlic
- Parsley (optional)
Instructions
- 1. Activate the yeast: In a bowl, mix warm water with sugar and yeast. Let it sit until frothy (about 5 minutes).
- 2. Mix the dough: Combine flour and salt in a large bowl. Add the yeast mixture and melted butter; mix until fully combined.
- 3. Knead: On a floured surface, knead the dough for 8-10 minutes until smooth and elastic.
- 4. First rise: Place dough in an oiled bowl, cover with a towel, and let it rise in a warm place until doubled (about 1 hour).
- 5. Prepare filling: In a small bowl, mix softened butter with minced garlic and parsley.
- 6. Shape rolls: Roll out dough into a rectangle, spread filling evenly, then roll tightly from one end.
- 7. Slice & arrange: Cut into 12 pieces and place cut-side up in a greased baking dish. Let rise again for 30 minutes.
- 8. Bake: Preheat oven to 375°F (190°C) and bake for 20-25 minutes until golden brown.
- Prep Time: 15 minutes
- Cook Time: 25 minutes
- Category: Savory Snack
- Method: Baking
- Cuisine: American
Nutrition
- Serving Size: 1 roll (50g)
- Calories: 160
- Sugar: 1g
- Sodium: 150mg
- Fat: 6g
- Saturated Fat: 3g
- Unsaturated Fat: 2g
- Trans Fat: 0g
- Carbohydrates: 22g
- Fiber: 1g
- Protein: 4g
- Cholesterol: 12mg
Keywords: Substitute olive oil for butter or add herbs like rosemary or thyme to the filling for variations. Store leftovers in an airtight container at room temperature for up to three days; reheat in the oven.
